Home grown carrots taste delicious. Whether you prefer them raw, roasted, boiled or in a soup, we’ve got a step-by-step guide to help children discover the magic of planting and growing.
Carrot seeds: Due to the ongoing coronavirus situation, you may not be able to buy carrot seeds in the usual way. Many garden supply companies are still trading online, so it’s worth having on a look on the Internet, but do consider whether your purchase is necessary at this time.
You will need
- A clear 2-litre bottle
- 2-litres of potting compost
- Carrot seeds (Atlas Mokum, Mini Finger or Parmex work well)
- Scissors
- A pencil
Instructions
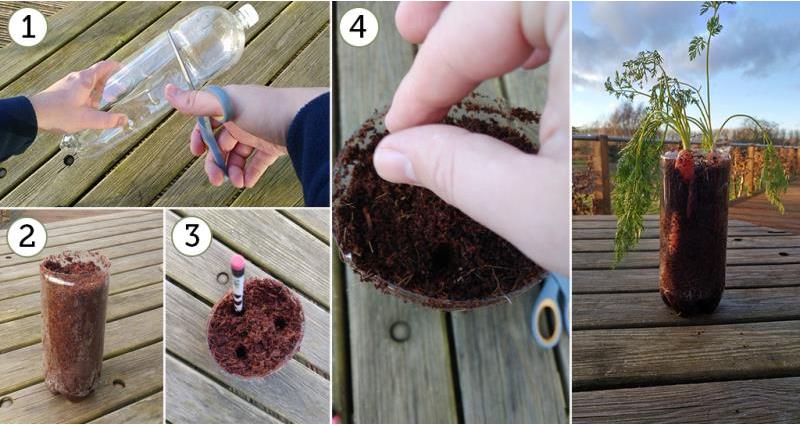
- Ask an adult to help you cut off the top of the 2-litre bottle and make some holes in the bottom for any excess water to drain out.
- Fill the bottle with potting compost, but leave around 2cm space at the top so that it doesn’t overflow.
- Poke three holes around 3cm deep with the pencil, spread apart in a triangle shape.
- Add 4 to 5 carrot seeds in each hole and cover up with compost. Add water to the compost and put the bottle in a sunny spot indoors, or outdoors from April onwards.
- Once your carrot seedlings are 3cm tall (after around 2-3 weeks) keep the three strongest seedlings in each corner and remove the rest with scissors.
- Keep monitoring your carrots and recording their progress until they have grown (this usually takes around 12 weeks).

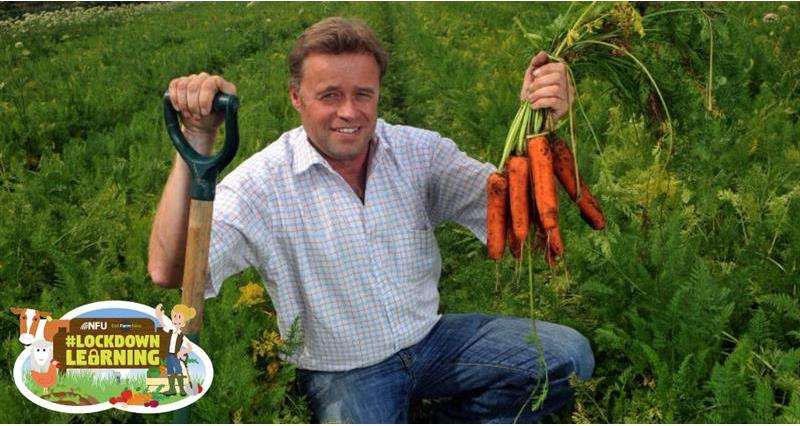
To download a printable carrot diary to record your carrot’s growth, or watch a video of carrots growing at Guy Poskitt’s farm in Yorkshire, head here.
We’d love to see how you get on – you can let us know by dropping an email to letstalkfarming@nfu.org.uk.
Explore
For more fun activities and videos straight from farmers, head to the LockdownLearning hub.
You can also find more activities on NFU Education.


